

In order to create a vector graphic, you do not need to be a Webdesigner, nor do you need to commission a web agency, nor do you need to own sinfully expensive graphic programs.
We show you how easy it is to create vector graphics and which free programs are available for this purpose. With these instructions it also works with the graphics program.
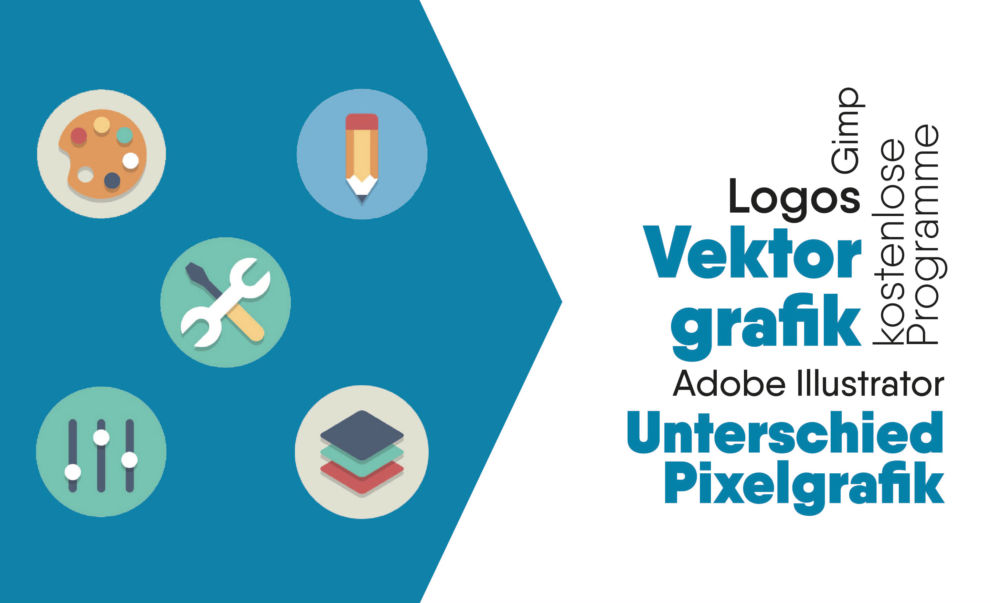
Creating vector graphics very easily yourself
In this article you will learn:
- How to create a vector graphic with the paid programs Adobe Illustrator, CorelDRAW Graphics Suite X8, magix or Serif DrawPlus
- How to create a vector graphic with freeware (free programs) Inkscape, Gimp
- How to scale an image that cannot be vectorized as a vector file.
Our experiences and hints to the programs – freeware and with costs
There are several ways to create a vector graphic. Of course, the first thing you need is a graphics program. There are a lot of tools for vector creation that are available for a fee and also a lot of free tools. These we will look at in detail later.
The vector graphic is either built by you or drawn from an existing non-vector graphic, whereby the final result is a vector graphic or vector file. The second way is of course much easier and more relaxed, but depending on the application, it can also sometimes not deliver perfect results.
What is a vector graphic?
Let’s clarify – before we start – what exactly this mysterious vector graphic is supposed to be!
A vector graphic can be enlarged to infinity without ever becoming blurred. A vector graphic is a computer graphic composed of graphic segments. These are lines, circles, polygons and curves. These define the graphic in the two-dimensional plane.
The file name of vector graphics usually ends with .svg, but it can also end with .ai, depending on the program, such as Adobe Illustrator.
For what do you need vector graphics?
No matter if you want to print a large poster, create a T-shirt or label a car. Whenever you want to enlarge graphics without pixels and then print them sharply, you need vector graphics.
Vector graphics are especially often used for logos.
Whoever creates an “ideal” logo should accordingly take care that it is not necessary to convert an image into a vector graphic. Keep your logo simple and with clear lines or design it directly as a vector file and not as an image to convert it later from format e.g. jpg to vector.
If you don’t use vector graphics, you might get unpleasant surprises. If the image file is not large enough, you will have an unpleasant pixelated result. A vector file, on the other hand, is the basis for unlimited scaling without loss of quality.
Difference between pixel graphics and vector graphics
Here you can see the difference graphically:

Basically, it’s quite simple. A vector graphic is a composite graphic form that can be mathematically calculated and thus enlarged at will. A pixel graphic is based on pixels, this is not obvious at first, but if you zoom in or out on a pixel graphic, you will quickly notice how unattractive and blurred the result will be.
Free programs for creating vector graphics
Here we took a closer look at Inkscape and Gimp. Both programs are free of charge and offer you an incredible amount of possibilities.
Adobe Illustrator CS2 (an old version of the paid software) is available as Download. Nevertheless, please note the terms of use. The download is only intended for persons who originally purchased the program. Other use is not permitted. On chip and computer picture we found a link to the serial numbers that buyers can use.
Inkscape
Inkscape is our favorite among the free vector programs. It is a graphics program for creating and editing vector graphics. You can use Inkscape with Windows, Mac OS X and Linus. It is an open source software and free of charge.
With Inkscape you have a variety of extremely flexible drawing tools at your disposal and can edit text in a comprehensive manner. The sample graphics created by the very active community look really professional and are just as professional as the paid tools.
Inkscape also has very good documentation. This will ensure that you really understand the program and learn step by step how to become a vector professional.
If you want to either trace a vector graphic or create it freely, you can use the pencil tool here. With it you can draw simple paths. There is also the popular Fill tool and the Calligraphy tool to create perfect calligraphic strokes.
As in the paid competitor products, you can also use the shape tools to create various geometric shapes. Rectangle, ellipse, star, polygon or spiral can be created in no time at all. The text tool can also be viewed and delivers clean results.
We find working with Illustrator from Adobe a little easier, but basically you can produce all graphics in the same quality with Inkscape.
A nice gadget is that there is also the image tracer. Here you upload the pixel graphic, click on redraw and have a finished vector graphic. But be careful: It is monochrome and may have errors. Therefore you should take a close look at it.
You can not only export files as vector graphics, but also in all other common formats like PNG, PDF or EPS, and many more.
To sum up: Inkscape is free of charge, suitable for editing 2D vector graphics, and can certainly compete with Illustrator in terms of functionality. The open source project offers a variety of editing functions as well as numerous tools.
Various drawing tools are available for editing:
- Pencil tool (freehand drawing of simple paths)
- Filling tool
- Form tools (rectangles, ellipses, stars, polygons)
- Text tool
With the render function the edges can be smoothed.
Gimp
Gimp is not really specialized in vector graphics. Nevertheless you can create vector graphics with this graphic program, which is based on pixels. Furthermore you have many great drawing possibilities.
- Load a file with transparent background (e.g. a file with the extension .png) in Gimp via the menu “File”, “Open”.
- In the layer dialog you can select the opened layer with a right click > “Selection from alpha channel”. The non-transparent area is selected. If the layers dialog is not displayed, it can be selected via the menu “Window” > “Dockable Dialogs”.
- Next in the “Selection” menu, “By path”. The selection is now saved in a path.
- In the information about the layers you will also find the “Paths” entry via the selection. With a right click on the path containing the outlines of the graphic you select “Export path”. Enter any file name with the extension “.svg”. Here the path is now saved as a vector file.
- The file can be used in a vector editing program.
Paying vector programs
Adobe Illustrator
(The price depends on whether you are a student or not and whether you buy the old program or subscribe to the new one in the cloud subscription)
Illustrator is probably one of the best graphics programs there is. This is what the pro works with! But quality also has its price and not everyone wants to afford it. Vectorizing with Illustrator is very intuitive – see below for detailed instructions.
Illustrator is in the current version part of the Adobe Cloud and as of 01.01.2019 depending on the subscription model (student or commercial) from about 30 EUR / month or 59.49 EUR / month available. Adobe Illustrator CS2 is available as Download. Important: please note the terms of use nevertheless. The CS2 version is outdated and the download is only for people who originally purchased the program. Any other use is not permitted. On chip and computer picture we found a link to the serial numbers which buyers can use.
CorelDRAW Graphics Suite X8
(Manufacturer price 02.2017 = 699,00 €) Unfortunately we can’t say much about the new CorelDRAW, because we don’t work with it. But there should be one or the other who swears by it! ?
magix
(Manufacturer’s price quote 02.2017 = 49,99 €) What exactly and in what variety Magix delivers here, we unfortunately cannot judge either. Nevertheless, Magix products often have a very good performance in the price ratio. At this price you could just dare and try it out.
Serif DrawPlus
(Will not be further developed, price manufacturer 02.2017 = 22,99 €) We have no experience with this graphics program. If you know anything about it, please leave a comment. We are very happy about that!
Alternatives, if a file cannot be vectorized – scale instead of vector file
The alternative to “Convert image to vector graphics” would be to use the highest quality scaling possible. There are two good alternatives: “SmillarEnlarger” and “PhotoZoom Pro”.
Both programs create images with as little loss of quality as possible. In this case no vector graphics are created, but image formats such as PNG or JPG. SmillarEnlarger is free of charge and in English language, PhotoZoom Pro is a desktop application with costs.
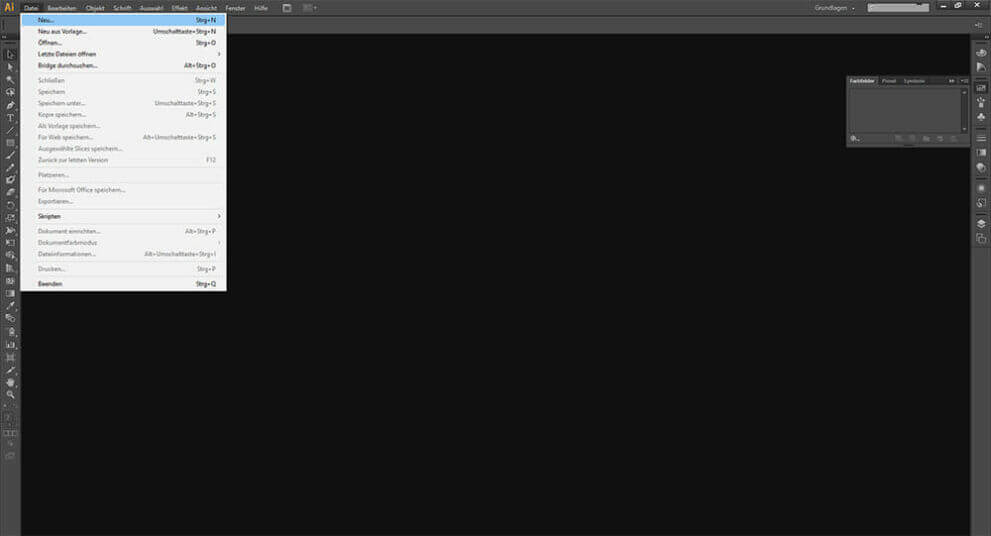
Create vector graphics with Adobe Illustrator
Now we will show you the creation using Illustrator. You proceed similarly with Inkscape, for example.
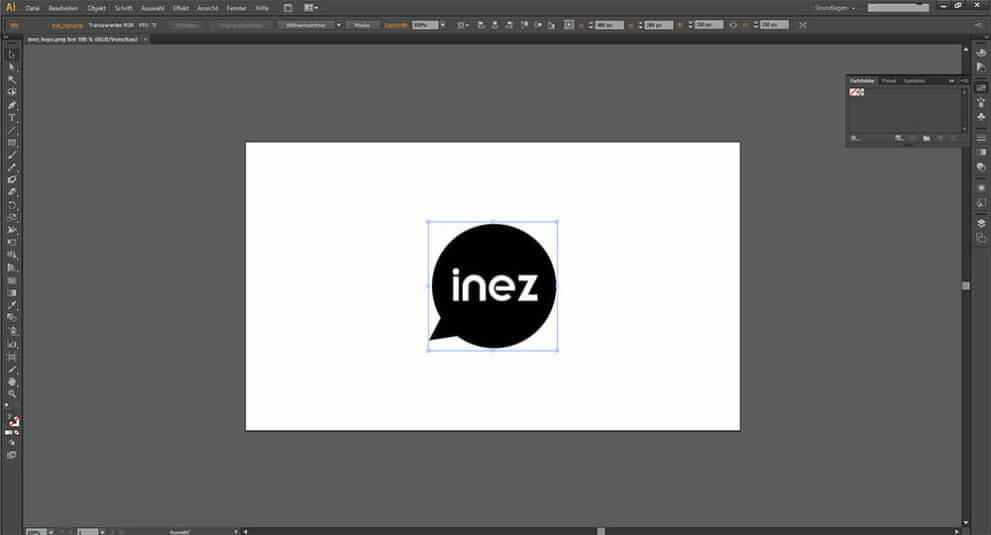
Possibility 1 – The image tracer
We have a logo here that is based on pixels and want to vectorize it.
To do this we create a new file in Illustrator and open the pixel graphic.
Now we select Object -> Image Tracer -> Create
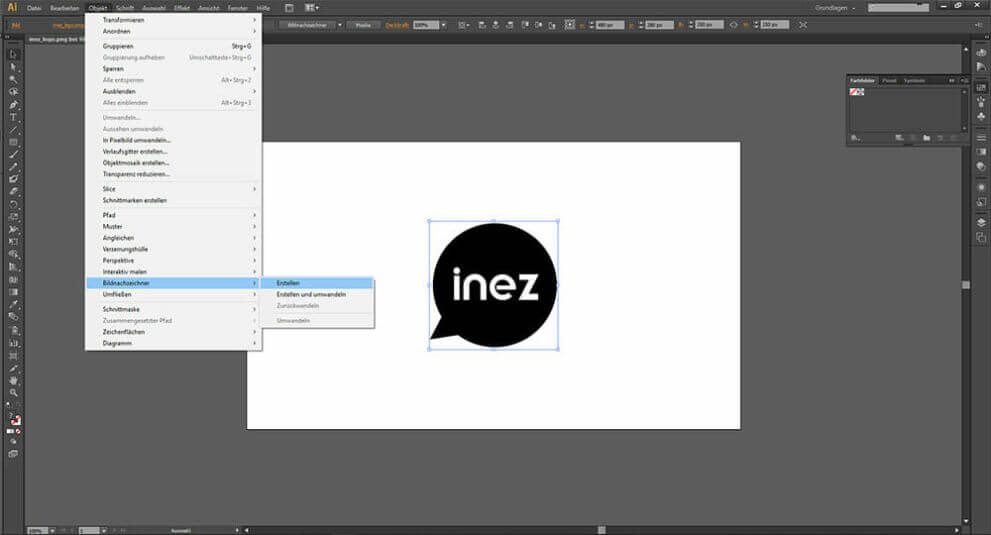
And already we have a vector graphic, which we can enlarge at will.
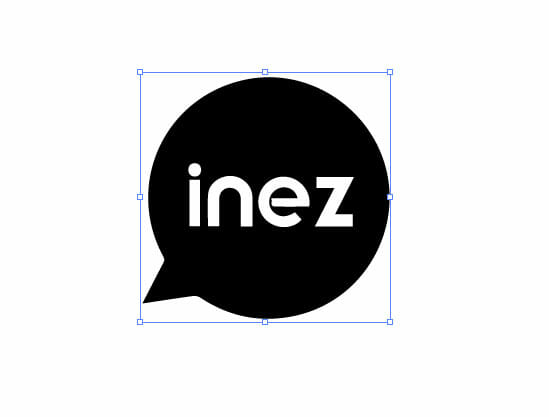
But if we take a closer look at this graphic, we will see that it has small flaws compared to the original. These are not too bad for an explanatory graphic, but when it comes to your logo, it’s extremely unpleasant.

So we come to the next possibility.
Possibility 2 – Shapes and path tool
You can set from a circle with anchoring of further lines. To do this we take the path tool and the logo together or we draw it completely. Of course you can also trace the writing, but it is not easy and it requires some patience and practice. It is easier to determine the font or use a similar one, so you don’t have to vectorize it again.
step 1
Step 2 – the final result
As we see, we now have the finished vector shapes. The font can be converted into paths, which will look like in the picture.


Comments